公司的 GitLab 服务部署完了,但是领导出于性能方面的考虑,希望测试和生产环境不用 Docker 来部署,遂搭建了一套不基于Docker 的 GitLab CI/CD 负载均衡测试环境。
注册 GitLab-Runner
安装 GitLab-Runner
这里我没有按照官方教程来直接下载对应系统的包安装,而是使用了清华大学开源镜像站的方法: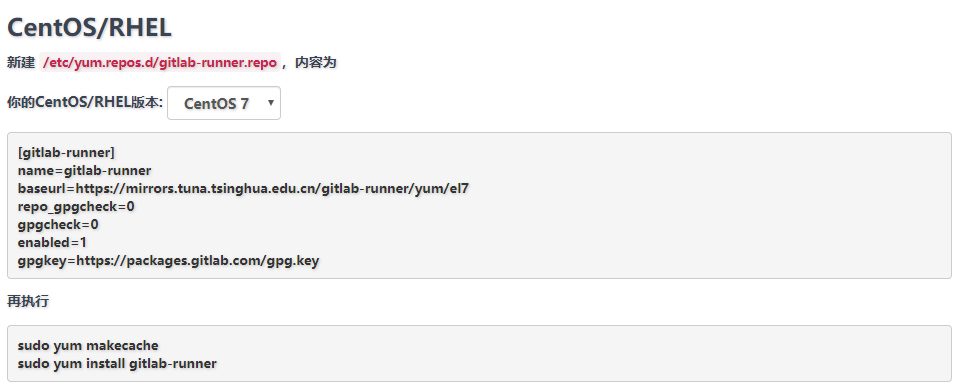
注册启用 GitLab-Runner
转到搭建好的GitLab的具体项目CICD项目设置页
https://gitlab.xxx/user/project/settings/ci_cd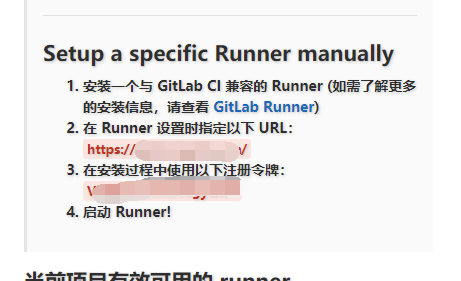
然后用GitLab提供的令牌和地址对GitLab进行注册: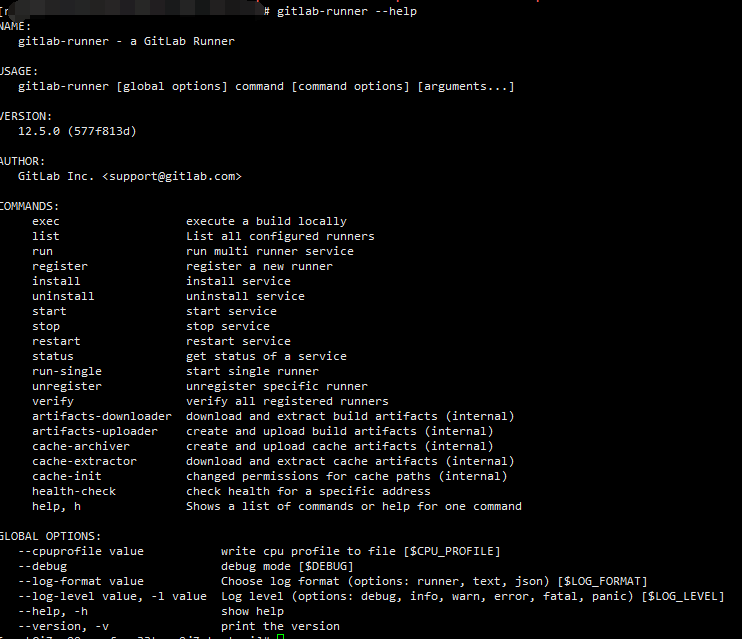
1 | gitlab-runner register |
测试机负载均衡和Daemon
负载均衡
负载均衡方面,国际惯例,还用 nginx 来做
直接用 yum 安装
1 | yum install -y nginx |
配置
1 | # For more information on configuration, see: |
Daemon
Daemon 方面,用过的几个里,个人觉得使用舒适度从低到高是 Systemd < Supervisor < PM2,直接选PM2了,原理一样,可以很方便的更换其他。
在做了负载均衡的两台服务器上做以下相同配置:
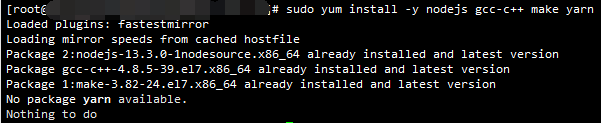
- 安装 NodeJS
1
sudo yum install -y nodejs gcc-c++ make yarn
![]()
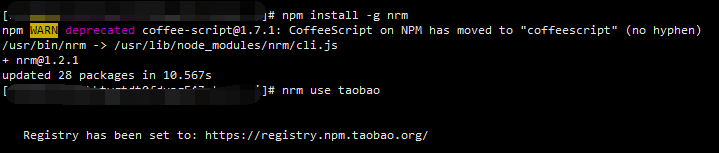
- 切换 Registry
1
2npm install -g nrm
nrm use taobao![]()
- 安装 PM2
1
npm install -g pm2
![]()
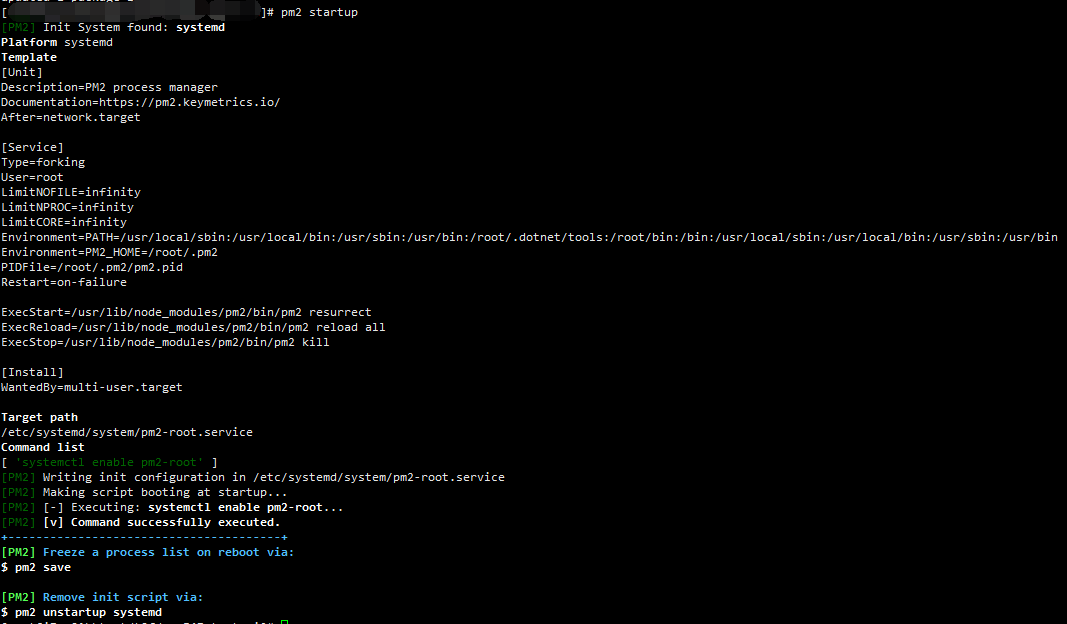
- 配置 PM2 自启
1
pm2 startup
![]()
- 新建 dotnet 守护服务,保存 pm2 守护列表
1
2pm2 start "dotnet test-ci.dll" --name testCI
pm2 save![]()
![]()
GitLab CI/CD
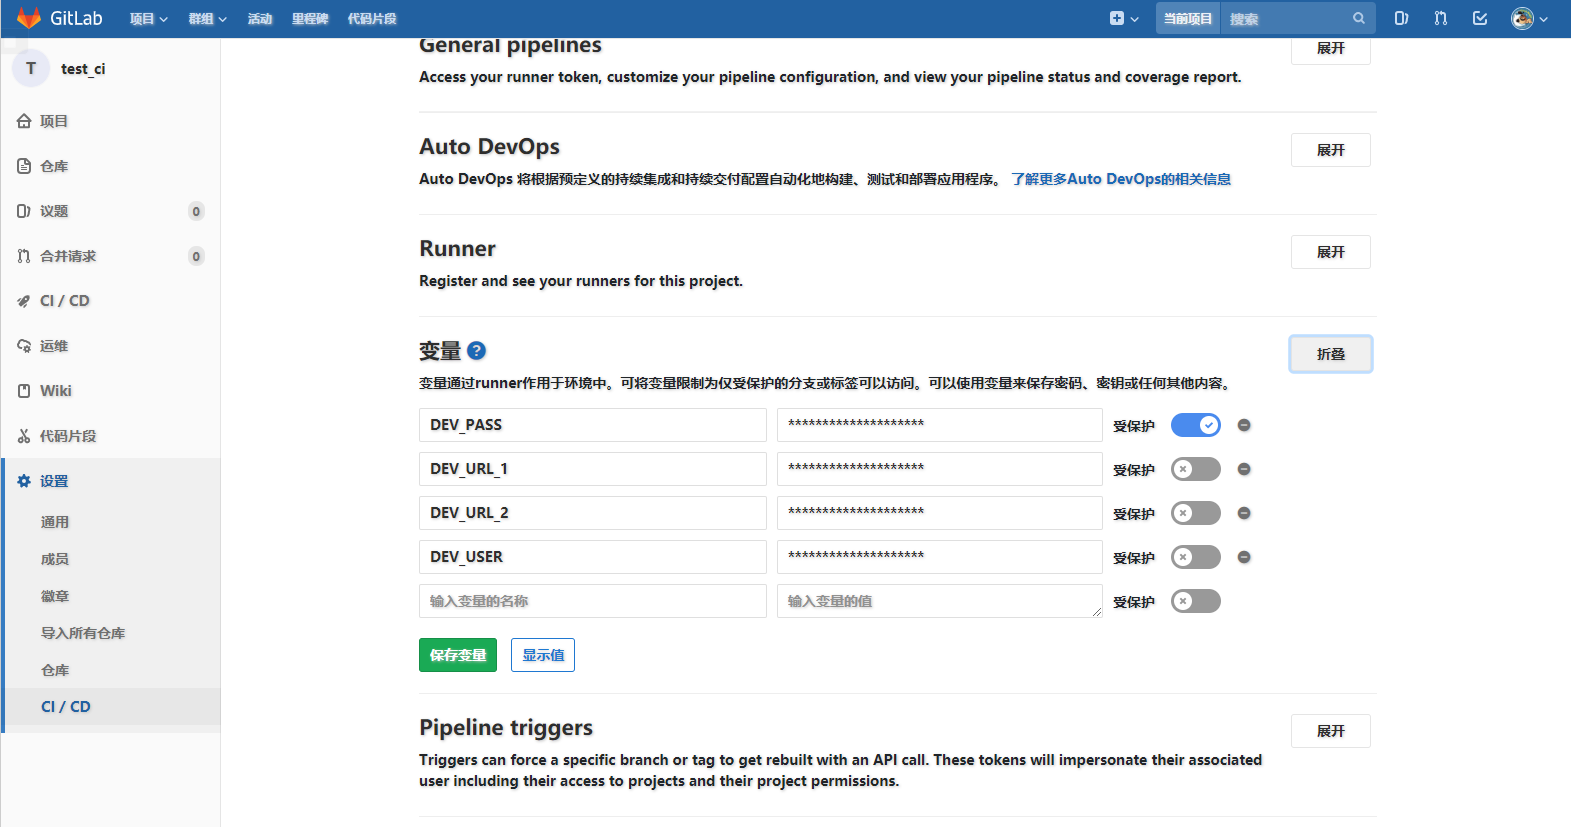
配置变量
![]()
在项目源码更目录增加 .gitlab-ci.yml
1
2
3
4
5
6
7
8
9
10
11
12
13
14
15
16
17
18
19
20
21
22
23
24
25
26
27
28
29
30
31
32
33
34
35
36
37
38
39
40
41
42stages:
- build
- deploy_dev
build_job:
stage: build
only:
- master
script:
- cd test-ci
- dotnet restore
- dotnet build
before_script:
- export COMMIT_TIME=$(git show -s --format=%ct $CI_COMMIT_SHA)
- export COMMIT_TIME_STR=$(date -d @$COMMIT_TIME +%Y%m%d%k%M%S)
deploy_master_job:
stage: deploy_dev
environment:
name: development
only:
- master
script:
# 发布程序并部署运行
- cd test-ci
- echo "version:$COMMIT_TIME_STR"
# 发布
- dotnet publish -c Release --output bin/publish
# 压缩
- cd bin/publish
- zip -r $COMMIT_TIME_STR.zip ./
# 备份
- cp $COMMIT_TIME_STR.zip /opt/backup-cd/test-ci/
# 部署服务一
- lftp sftp://$DEV_URL_1 -e "user $DEV_USER $DEV_PASS; cd /root/test-ci; put $COMMIT_TIME_STR.zip; bye"
- sshpass -p "$DEV_PASS" ssh -o StrictHostKeyChecking=no $DEV_USER@$DEV_URL_1 "cd /root/test-ci;unzip -o ./$COMMIT_TIME_STR.zip;rm -Rf ./$COMMIT_TIME_STR.zip;"
- sshpass -p "$DEV_PASS" ssh -o StrictHostKeyChecking=no $DEV_USER@$DEV_URL_1 "pm2 restart testCI;pm2 status;"
# 部署服务二
- lftp sftp://$DEV_URL_2 -e "user $DEV_USER $DEV_PASS; cd /root/test-ci; put $COMMIT_TIME_STR.zip; bye"
- sshpass -p "$DEV_PASS" ssh -o StrictHostKeyChecking=no $DEV_USER@$DEV_URL_2 "cd /root/test-ci;ls;unzip -o ./$COMMIT_TIME_STR.zip;rm -Rf ./$COMMIT_TIME_STR.zip"
- sshpass -p "$DEV_PASS" ssh -o StrictHostKeyChecking=no $DEV_USER@$DEV_URL_2 "pm2 restart testCI;pm2 status;"
# 删除压缩包
- rm -Rf ./$COMMIT_TIME_STR.zipx


一些坑
NodeJS
使用 yum 安装的官方提供的 NodeJS 最新版本为6.X,使用nrm会报错,属于低版本NodeJS本身对coffeescript的兼容问题,想要安装新版的NodeJS可以参考这篇文章,我用的方法是nodesource/distributions: